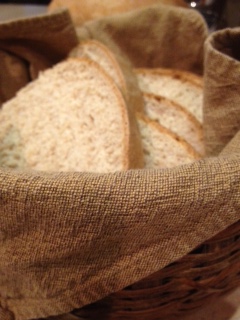
Honey Wheat Bread
Feb 6, 2013
This is a staple at our house. It’s just a great bread recipe, and is pretty straightforward if you’re not used to making bread. It hasn’t failed me yet, so I would recommend it even to bread-making newbs.
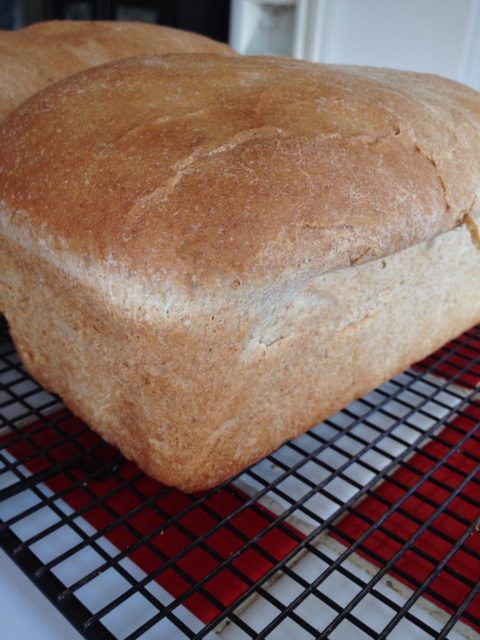
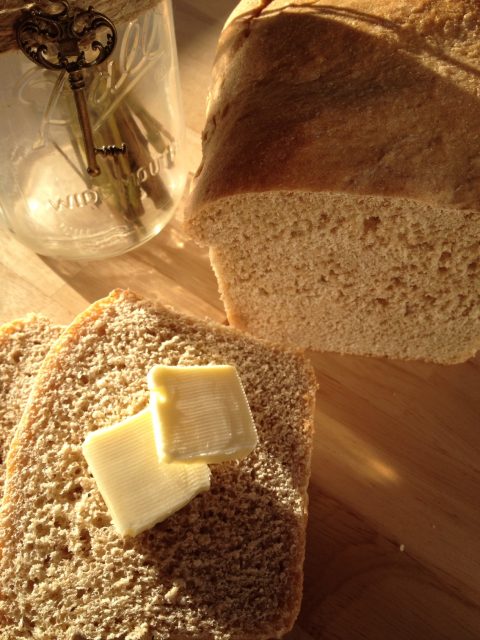
This recipe gives you two beautiful, golden brown loaves of fantastic bread that is just what you’re craving. Just try it. And, of course, if you have questions for me, ask. Don’t let the length of the instructions scare you. There is nothing like fresh, hot, homemade bread fresh out of the oven.
It is worth noting, however, that I use my stand mixer to do the kneading for me–unless I need the therapy of kneading with my hands which I would highly recommend on a bad day. I will include the link to the original recipe instructions at the bottom of the page if you need kneading specifics. Get it? Need, knead. Never mind. On to the bread making…
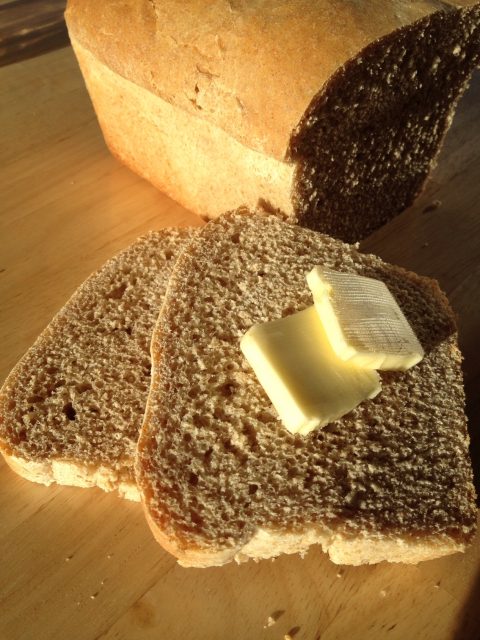
Let it cool in the pan for about 15 minutes and then on a wire rack. It cuts much better when cool, but tastes oh-so-good warm. This is a guaranteed crowd pleaser. Any leftovers make the BEST grilled cheese you’ve ever had.
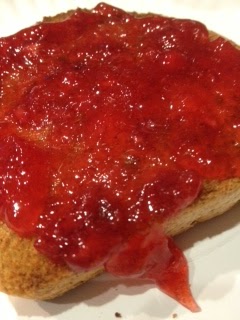
Or, my favorite is toast with strawberry freezer jam.
Oh my, this is making me so hungry just thinking about it. I think I’ll go make some bread.
- 2 c. water
- 1 Tablespoon active dry yeast
- ⅓ c. honey
- ⅓ c. oil
- 2 c. wheat flour
- 1 tsp. salt
- 4-5 cups unbleached all-purpose flour
- Butter for greasing pans
- Add yeast to the warm water and let sit until foamy. To the yeast mixture, add oil and honey.
- In a mixer bowl, mix wheat flour and salt.
- Add the liquid mixture to the flour/salt and mix well.
- One cup at a time, add 4-5 c of unbleached white flour, mixing well after each addition. When the flour cleans the inside of the mixer bowl, it has enough flour. Let knead for 4-5 more minutes. If kneading by hand, see the recipe link for further instructions.
- Coat the surface of a bowl with butter. Put the dough in and turn to coat all sides. Cover with a clean dishtowel and put in a warm place to let it rise until doubled in size.
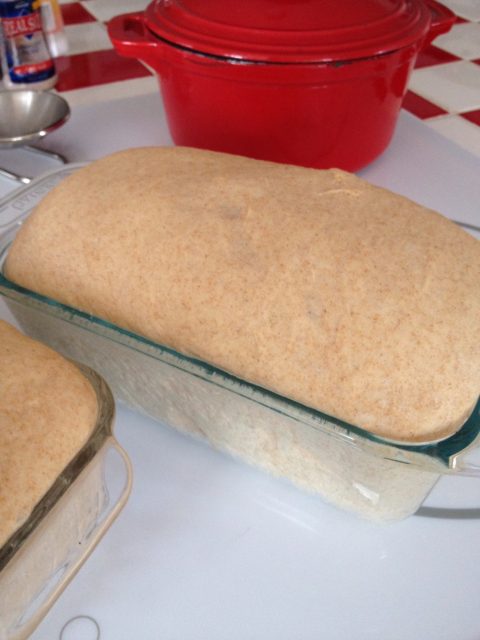
- Punch the dough down, split the dough in half and form loaf shapes, tucking the edges under. Place them ugly side down in a buttered loaf pan, cover with the dishtowel and let it rise in a warm place until the dough is at least an inch higher than the load pan.
- Bake in a preheated 375 degree oven for about 20 minute or until the loaves make a hollow sound when you knock on them.
- Let them cool in he pan for about 15 minutes and then remove from the pans and cool on a wire rack. Do not cut until cool.
I did get this recipe straight from this site, and I, for once did not alter a thing. Many thanks…
Leave a Reply
Hungry?
Browse hundreds of our delicious recipes...there's something here for everyone!
As Seen In
Mac & Cheese
The
Once upon a time, there was a girl who just wanted creamy, cheesy mac and cheese. Not full of spices or fancy things, just plain ol’ gooey mac and cheese. As such, The Mac & Cheese was born. Alison's recipe has become our claim to fame—standing strong as the Most Pinned Mac & Cheese Recipe on Pinterest.
THE
MOST PINNED MAC & CHEESE RECIPE ON PINTEREST
CHECK IT OUT

[…] it. Perfection in a bowl. And in case you need some more starch, this is absolutely perfect with Honey Wheat Bread. It freezes quite nicely so if you manage to have some left, put it in your freezer for the next […]
[…] ALWAYS make this with homemade honey wheat bread because some of my group eats this over bread. I also ALWAYS make mashed potatoes because […]
[…] just follow these few steps and you are on your way to amazing homemade goodness. Whip up some perfect bread to accompany this […]
[…] you’re kitchen is going to smell sooo good! In the fall or winter, I would definitely make a honey wheat bread to accompany this yumminess, and probably some homemade applesauce, but today since it’s a hot […]
[…] have to add some water because it will be so very thick the next day. It’s perfect with Honey Wheat Bread or cheese […]
[…] ALWAYS make this with homemade honey wheat bread because some of my group eats this over bread. I also ALWAYS make mashed potatoes because […]
[…] it. Perfection in a bowl. And in case you need some more starch, this is absolutely perfect with Honey Wheat bread. It freezes quite nicely so if you manage to have some left, put it in your freezer for the next […]