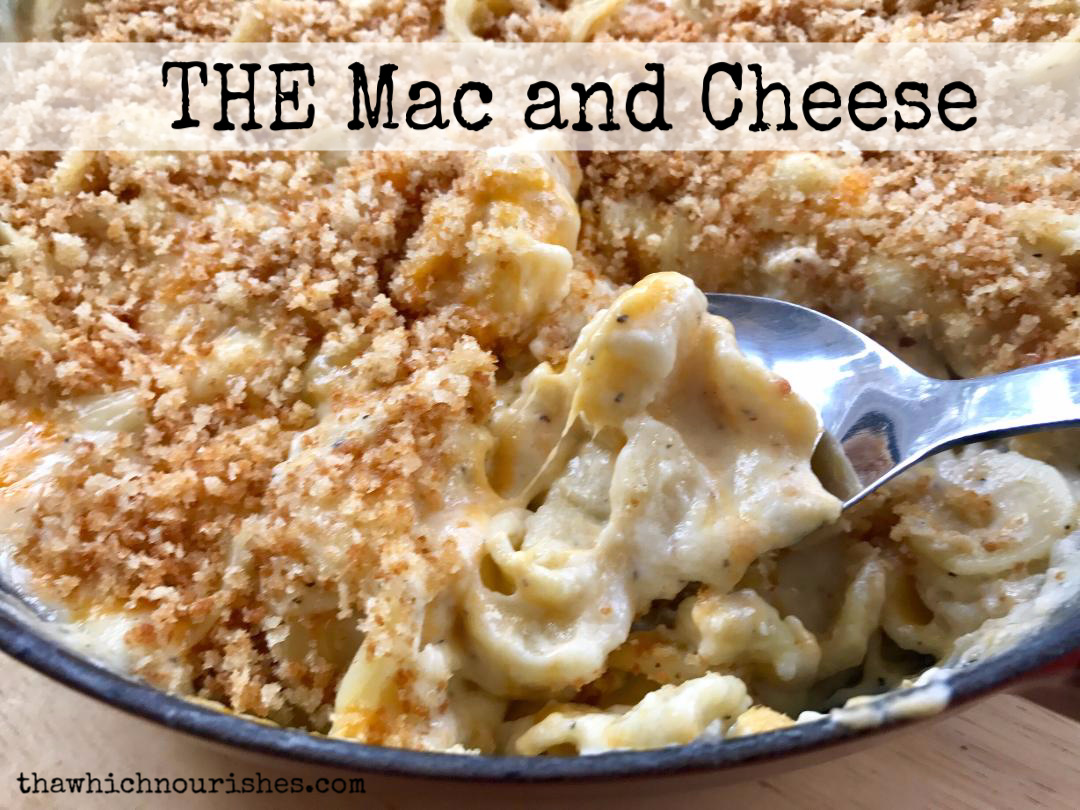
THE Mac and Cheese
Nov 29, 2022
Once upon a time, there was a girl who just wanted creamy, cheesy mac and cheese. Not full of spices or fancy things, just plain ol’ gooey mac and cheese.
So I developed this recipe and now I share it with you, friends. Because you all deserve this bit of comforting yum in your life.
You are so welcome.
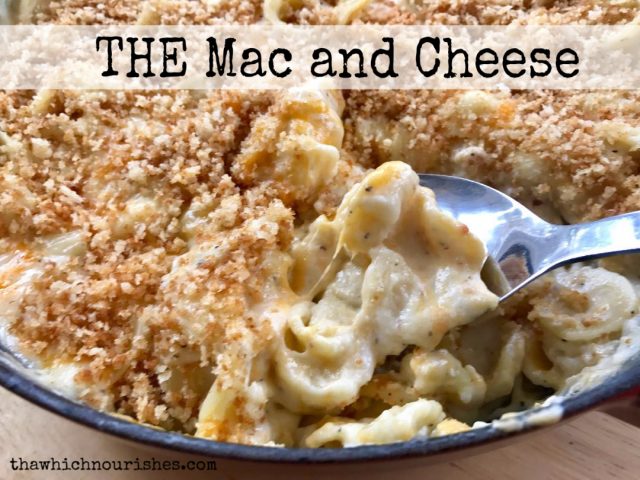
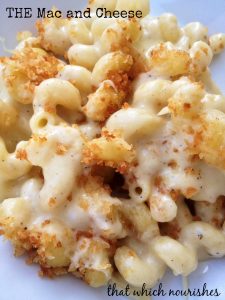
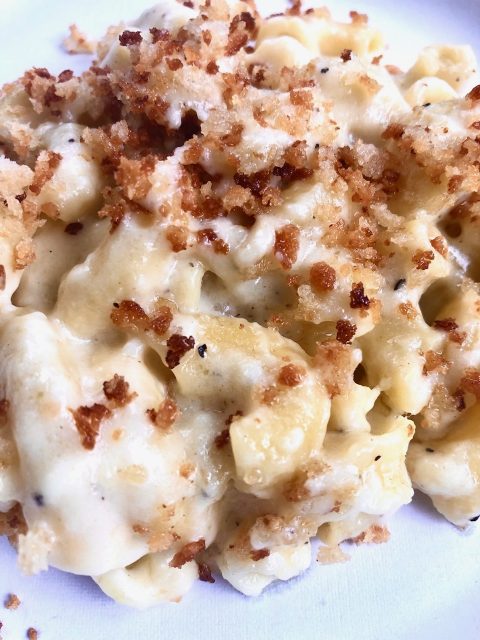
This is the original picture that made THE Mac go viral!
This one is the one I make to go along with Buttermilk Fried Chicken Tenders or Hammy Sammies or Beef Roast Sandwiches. How about Loaded Roast Beef and Bleu Sliders? You should probably check them out! Heck, this would make a PBJ look great. We love to add chunks of ham and make it a full meal. Add some bacon or crab if it floats your boat! Pulled pork with onions and barbecue sauce? Oh good heavens!
The possibilities are endless.
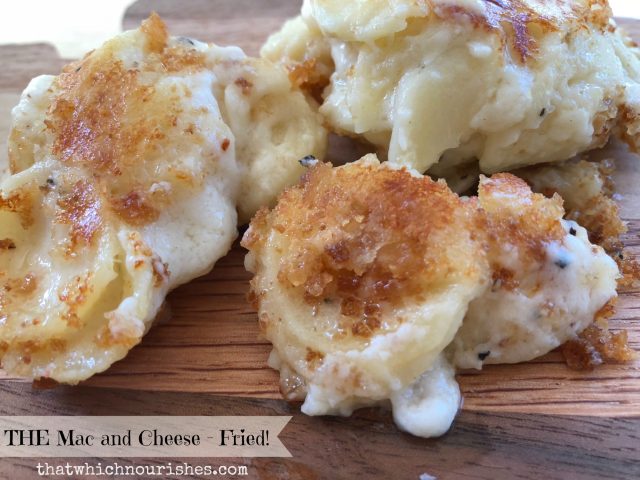
Our favorite combinations are a Havarti (2 c.) – Cheddar (4 c.) blend with bacon, or smoked Gouda/Cheddar with ham. Also, we’ve grown quite fond of next-day-leftovers* pressed flat and fried in refined (no coconut flavor) coconut oil. Crispy on the outside and hot and gooey on the inside. How can you resist?
This recipe has gone viral since I first posted it. If you’re visiting from Pinterest, please take a minutes and check my recipe index for hundreds of other great recipes!
And it’s EASY. The only bummer is the tired hand you’ll have from grating all of that cheese.
Boil your choice of pasta (it doesn’t matter the shape, just choose one that holds all the cheesy goodness) in water salted with a teaspoon or so of kosher salt until al dente.
While the pasta is cooking, melt 1/2 c. (1 stick) of butter in a large saucepan over medium heat. Sprinkle in 1/2 c. flour, and whisk together for 2-3 minutes to let it cook.
Add in 1/2 T. (Tablespoon) Kosher or Himalayan sea salt and 1/2 T. (Tablespoon) pepper.
(Originally, the recipe called for 1 T. each of Kosher salt and pepper, but since most readers were using table salt, the result was too salty. Please note that I have changed the numbers to reflect what works well as a general rule. Start less and add more as needed to taste. You can add it in, but you can’t take it out!)
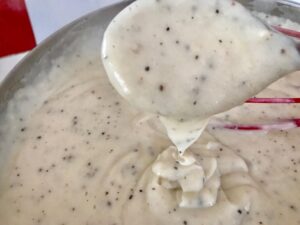 Slowly pour in 4 cups of whole milk (don’t skimp here–in fact you can even use some cream) whisking as you go until smooth. Keep whisking until the sauce comes just to a very low boil — it will take several minutes. This is where it will thicken considerably. If you stop heating it too soon, it will not thicken correctly so whisk and heat until thickened just like in the picture at right. Remove from heat.
Grease a 9×13″ dish with butter and add the cooked pasta to the dish.
Over the top of the pasta sprinkle 6 cups freshly shredded Cheddar (I use white or sharp), or any mix of cheese you prefer. Just please skip bagged cheese. Because of additives, it melts differently. You will get the best result if you grate a block of cheese!
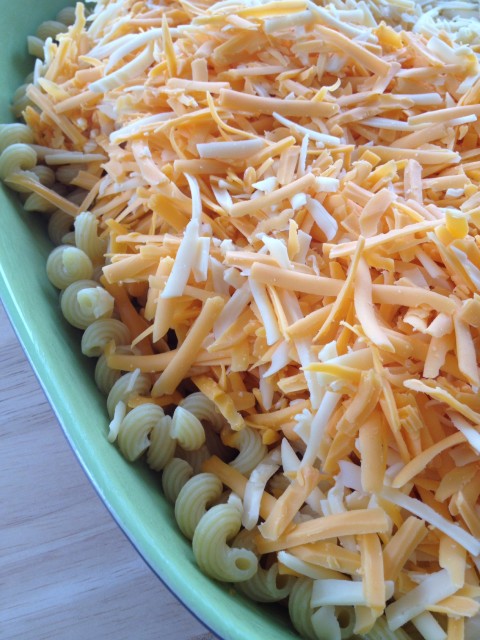
Pour the beautiful cream sauce over the top of the cheese and pasta and let it sit a couple minutes to begin to melt the cheese. Then, stir the whole beautiful cheesy goodness together and make the topping. In a small skillet, melt 2 T. butter over medium heat. Add in 1/2 c. panko bread crumbs. Stir constantly until golden brown. Sprinkle over the pasta and cheese.
Bake in a preheated 325 degree oven for 12-15 minutes.
Hot, cheesy perfection.
Serves 6-8 as a main dish or 10-12 as a side.
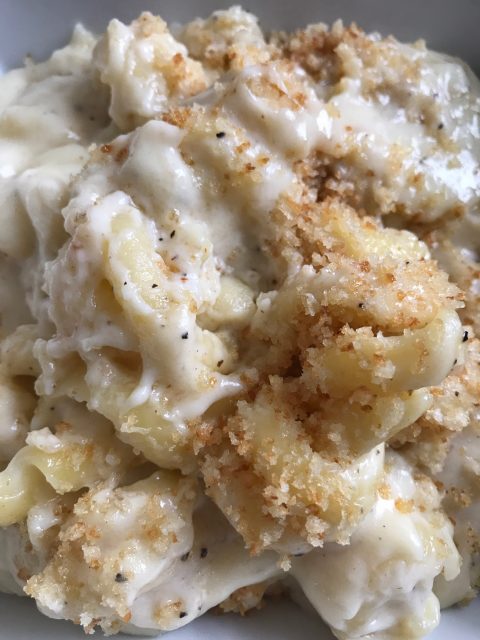
*I have received many questions regarding preparing THE Mac ahead of time. It is my recommendation to make this fresh before serving. Many people LOVE this cheesy goodness reheated, and love the leftovers as much as fresh out of the oven, But because it is a cheese sauce, it can tend to separate and does not lead to optimal results if you are making it for a get together. Of course, it is possible to make this ahead, put it in the fridge and then just add some time to your bake time, and it does taste AMAZING, but for optimal results, make it, bake it, and eat it. :o)
For Crock Pot tips, see the very bottom of this post!
- 1 lb. pasta of your choice
- ½ c. butter
- ½ c. flour
- 4 c. milk
- 6 c. freshly shredded sharp or white Cheddar
- ½ T. Kosher or sea salt
- ½ T. pepper
- 2 T. butter
- ½ c. panko bread crumbs
- Boil pasta in salted water according to package directions.
- Melt butter in large saucepan over medium heat. Sprinkle in flour and whisk and cook 2-3 minutes. Add in salt and pepper.
- Slowly pour in 4 c. milk whisking until smooth and heating to a low boil until thickened. Do not stop whisking and cooking until thick. Remove from heat.
- Grease a 9x13" baking dish and add the hot pasta to the dish. Over the top sprinkle 6 c. of freshly shredded cheese.
- Pour the thickened cream sauce over the hot pasta and cheese and let it sit until the cheese melts. Stir everything together.
- Melt 2 T. butter over medium heat. Add in panko bread crumbs, stirring constantly 3-5 minutes or until golden brown.
- Sprinkle the breadcrumbs over the mac and cheese.
- Bake in a preheated 325 degree oven 12-15 minutes.
Crock Pot results:
I have tested THE Mac in the crock pot and I got some decent results! For those of you who need to buy a couple hours if you’re bringing THE Mac to an event without an oven, I found a way to work it! Make all of the elements of THE Mac — make the pasta, grate the cheese, make the cream sauce and stir it all together. Also, make the panko topping, but set this aside to add to the top before serving.
Keep this in your crock pot on low for about two hours. After that, stir it, set the temp to warm and be prepared to serve it as soon as possible since the longer it sits on warm, the more the sauce bakes in and you lose the creaminess that makes this spectacular. It still tastes delicious, but the texture definitely changes to be more like a traditional baked mac and cheese.
Please note that all crock pots are different and one that has a bit of a higher temp may dry this recipe out quicker! Keep an eye on it and be prepared to turn it down or off if needed. Again, fresh is best, but I hope this provides you an alternative if you need it!
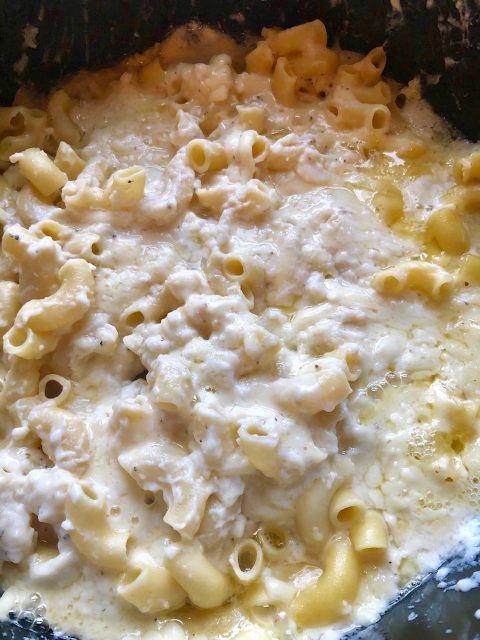
Two hours on low before stirring.
Ready to serve from the crock pot!
Leave a Reply
Hungry?
Browse hundreds of our delicious recipes...there's something here for everyone!
As Seen In
Mac & Cheese
The
Once upon a time, there was a girl who just wanted creamy, cheesy mac and cheese. Not full of spices or fancy things, just plain ol’ gooey mac and cheese. As such, The Mac & Cheese was born. Alison's recipe has become our claim to fame—standing strong as the Most Pinned Mac & Cheese Recipe on Pinterest.
THE
MOST PINNED MAC & CHEESE RECIPE ON PINTEREST
CHECK IT OUT
Amazing! I used extra sharp white cheddar, gouda and havarti, a dash of nutmeg and added some bacon! We like the crunch so I doubled the panko topping too! Delish!
Thanks
Hi, Anja! MMMMMMMM!!! That sounds like cheese heaven right there! Nice work! I’m so curious about the nutmeg, but my group would veto any spices not the usual. I suppose I could add it to a small portion for just me to try next time! :o) Thanks so much for the compliments and for stopping by! Hope you stick around awhile and find some other great food!
Can you make this in a crock pot?
Hi, Sean. I have not personally made THE Mac in the crock pot, though one reader named Diane did. I will include her comment at the bottom of this reply. Just please know that I cannot necessarily recommend it or guarantee great results since it has not been tested in my kitchen. I will say that I do recommend this recipe is made fresh as per the recipe instructions for best results. Thanks so much for stopping by! :o)
[…] This makes about eight sandwiches. Oh, and my kids love them served with ketchup so make sure to put that on the table! Serve with a salad or the perfect accompaniment to almost everything, THE Mac and Cheese. […]
[…] but is SO WORTH IT. It is not fat free, but it is dang good. I got the majority of the recipe from here, but interchanged the ingredients and process a little to fit my family’s needs (and use what […]
[…] Mac and Cheese — this is quite possibly the most decadent mac and cheese i’ve ever had. i always add bacon when i make it. […]
I made this tonight for my husband and it was absolutely incredible. We loved it so much! Thank you for the recipe <3 I now have to do some extra cardio tomorrow haha. It was well worth it!
Hello, Danielle! I’m so so glad you tried and loved THE Mac!! I gorged myself tonight on some with Gouda, Cheddar, and ham and I might need to walk a few miles myself tomorrow — just couldn’t stop! :o) I hope you find some more recipes to love here! <3 Thank you so much for the sweet compliments!
I would love to print this recipe but when I hit print on your page it comes up it shows 83 pages to print. All comments, pictures etc are going to print. Maybe I am doing something wrong but is there just a printable version of this recipe?
I have made it a few times and it is delicious. 🙂
Thank you
Hi there, Miriam! Thank you for asking so nicely. I know it’s frustrating and I have great news for you! You asked on the right day! Perhaps you noticed my blog got a serious facelift. That happened last night. Much of my reason for the makeover was to be able to provide a print option for lovely people like you who compliment me. :o) Seriously, I am out of town at the moment, but it first order of business when I arrive home later today is to work on recipe cards for each recipe. I will start on THE Mac just for you. Check later tonight or tomorrow and let’s see if I made it happen. Thanks so much for stopping by! Have a happy day! :o)
[…] Mac and Cheese Homemade Mac and Cheese with breadcrumbs – what’s better than that? It’s nostalgia mixed with creamy, gooey love. Don’t resist falling into the spell of its cheesy goodness. You know you want to. […]
Can you make this the night before and toss in the oven the next day? I love this mac n cheese and want to make it for a big group for a party this weekend. Not sure if it will cook up ok or if I should just make the morning of the party?
Hello, Amy! This tends to be the biggest question folks have, and if you read through the comments you will find what has worked for some people with regards to making it ahead. Personally, I make it fresh. Any time you make a cheese sauce and try to reheat it, it has the tendency to break and change texture. It’s not that it WON’T work, it’s that it may not be what you’re looking for.
Thanks so much for stopping by and commenting! Have a great day! :o)
This was the best mac and cheese I have ever had the pleasure of preparing and eating!
My neighbor made this for dinner one night while my son (9 years old) was playing with her son. He enjoyed it so much that she shared your recipe with me. Wonderful, simply wonderful!
*I used sharp cheddar cheese (3 cups), white mild cheddar cheese (1 cup) and gouda cheese (1 cup). I prepared with 3 cups of whole milk and 1 cup of cream.*
Helena! You made me pretty darn happy with your sweet compliments! I absolutely love that a 9 year old is promoting my blog! :o) Seriously, I’m super glad that you all tried it and loved it and came back to say so. Thanks, too, for sharing your cheese and milk choices — helps other readers. I hope you find some other recipes to fall in love with here on our site. Have a happy day!