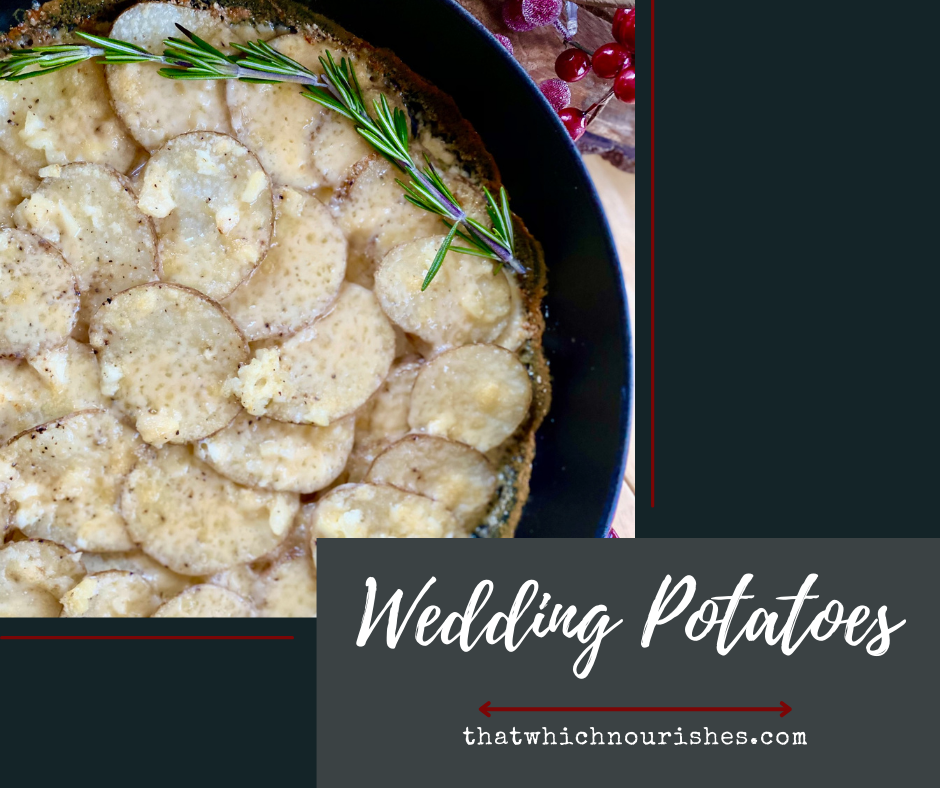
Wedding Potatoes
Dec 19, 2022
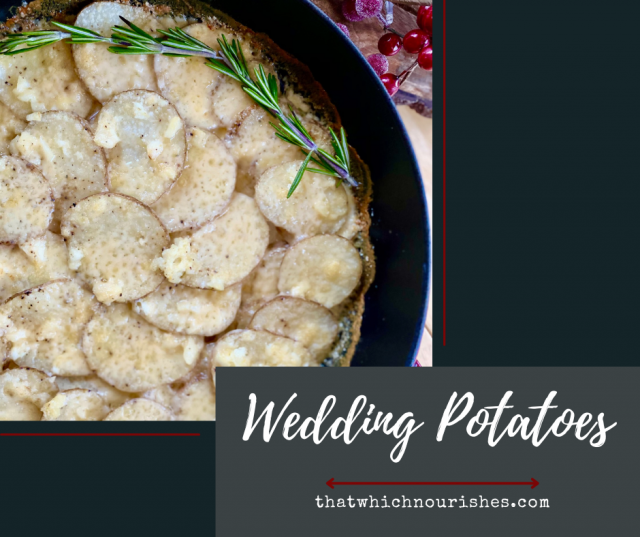
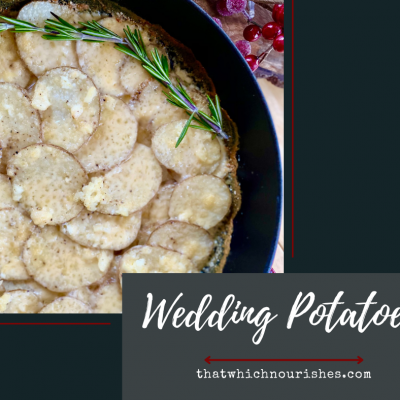
These are the spectacular potatoes I chose to make for my son’s wedding most of a year ago. I have made them a gazillion times since and rather than call them the fancy French Potatoes Gratin that they really are, they’ve now become Wedding Potatoes around here. Right up there with Cheesy Potatoes as far as frequency on the Kirksey menu, these tender and rich, garlicky, and cheesy slices of potato heaven seem to be the more refined version of our American classics. Some steps up from Au Gratin and Scalloped, these are so simple and delicious, I’m willing to guarantee you’ll make them again and again like we do!
To begin, wash and remove the ends of 5-6 russet potatoes that are roughly the same size. Slice them into very thin slices — I aim for 1/8 of an inch. Set them aside for now. Grate sharp cheddar (I prefer white if I can find it) and Gruyere cheese to equal 1 cup of grated cheese. I use a Cheddar/Gruyere blend that I can find in my local deli section, but you can totally just use some of each. Also grate 1/2 c. of fresh parmesan. Please don’t use the green can stuff. It will gum up and just not be the same.
Preheat the oven to 325 degrees.
Add 1 1/2 c. heavy cream to a saucepan turn it to low and add 3 tsp. of garlic and 2 tsp. kosher salt. Let this heat gently while you prepare the rest.
I use a 12″ cast iron pan for this next part, but if you don’t have one, I’ll give you options. Over medium heat, in the cast iron or a saucepan, add 2 T. butter and 1/4 c. chopped shallots (an onion will do in a pinch). Let this caramelize for a few minutes. If you are using a cast iron remove it from the heat and continue on in it, if you aren’t, add the butter and shallots to a 9×13″ pan and proceed from there.
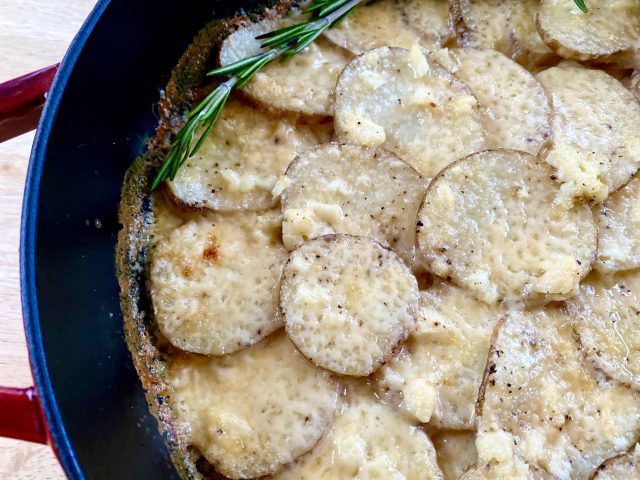
Layer the potato slices into the cast iron or baking dish in a spiral pattern and when finished, pour the garlic cream over the whole thing. Sprinkle with a bit of pepper if desired.
Cover tightly with foil and bake for about an hour and check the softness of the potatoes with a fork. If they are nice and soft all the way through, you can move on, if not, add up to 15 minutes for them to finish softening.
Remove the foil and sprinkle with the freshly grated cheeses. Turn your broiler on and once it’s heated, be prepared to stand right there and wait for the cheeses to bubble and even get golden if you’d like; but whatever you do, do NOT walk away! Burning happens quicker than you think. Depending on your broiler temp, they will be perfect in anywhere from 2-5 minutes.
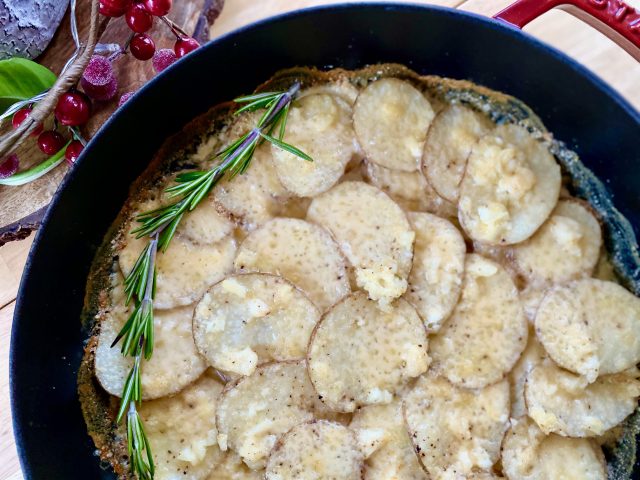
That’s all there is to it! You’re going to absolutely love these cheesy beauties! They are perfect in their simplicity and make a perfect presentation for those you love. Merry Christmas, friends!
- 1½ c. heavy cream
- 3 tsp. chopped garlic
- 2 tsp. kosher salt
- 5-6 med-large potatoes
- 2 T. butter
- ¼ c. chopped shallots
- ½ c. grated white Cheddar
- ½ c. grated Gruyere
- ½ c. grated Parmesan
- Wash and remove the ends of 5-6 russet potatoes that are roughly the same size. Slice them into very thin slices - about ⅛ of an inch. Set them aside.
- Grate Cheddar (I prefer white if I can find it) and Gruyere cheese to equal 1 cup of grated cheese. I use a Cheddar/Gruyere blend as well as ½ c. of fresh parmesan. Please don't use the green can stuff. It will gum up and just not be the same.
- Preheat the oven to 325 degrees.
- Add 1½ c. heavy cream to a saucepan turn it to low and add 3 tsp. of garlic and 2 tsp. kosher salt. Let this heat gently while you prepare the rest.
- I use a 12" cast iron pan for this next part, but if you don't have one, I'll give you options. Over medium heat, in the cast iron or a saucepan, add 2 T. butter and ¼ c. chopped shallots (an onion will do in a pinch). Let this caramelize for a few minutes. If you are using a cast iron remove it from the heat and continue on in it, if you aren't, add the butter and shallots to a 9x13" pan and proceed from there.
- Layer the potato slices into the cast iron or baking dish in a spiral pattern and when finished, pour the garlic cream over the whole thing. Sprinkle with a bit of pepper if desired.
- Cover tightly with foil and bake for about an hour and check the softness of the potatoes with a fork. If they are nice and soft all the way through, you can move on, if not, add up to 15 minutes for them to finish softening.
- Remove the foil and sprinkle with the freshly grated cheeses.
- Turn your broiler on and once it's heated, be prepared to stand right there and wait for the cheeses to bubble and even get golden if you'd like; but whatever you do, do NOT walk away! Burning happens quicker than you think. Depending on your broiler temp, they will be perfect in anywhere from 2-5 minutes.
Hungry?
Browse hundreds of our delicious recipes...there's something here for everyone!
As Seen In
Mac & Cheese
The
Once upon a time, there was a girl who just wanted creamy, cheesy mac and cheese. Not full of spices or fancy things, just plain ol’ gooey mac and cheese. As such, The Mac & Cheese was born. Alison's recipe has become our claim to fame—standing strong as the Most Pinned Mac & Cheese Recipe on Pinterest.
THE
MOST PINNED MAC & CHEESE RECIPE ON PINTEREST
CHECK IT OUT
Leave a Comment