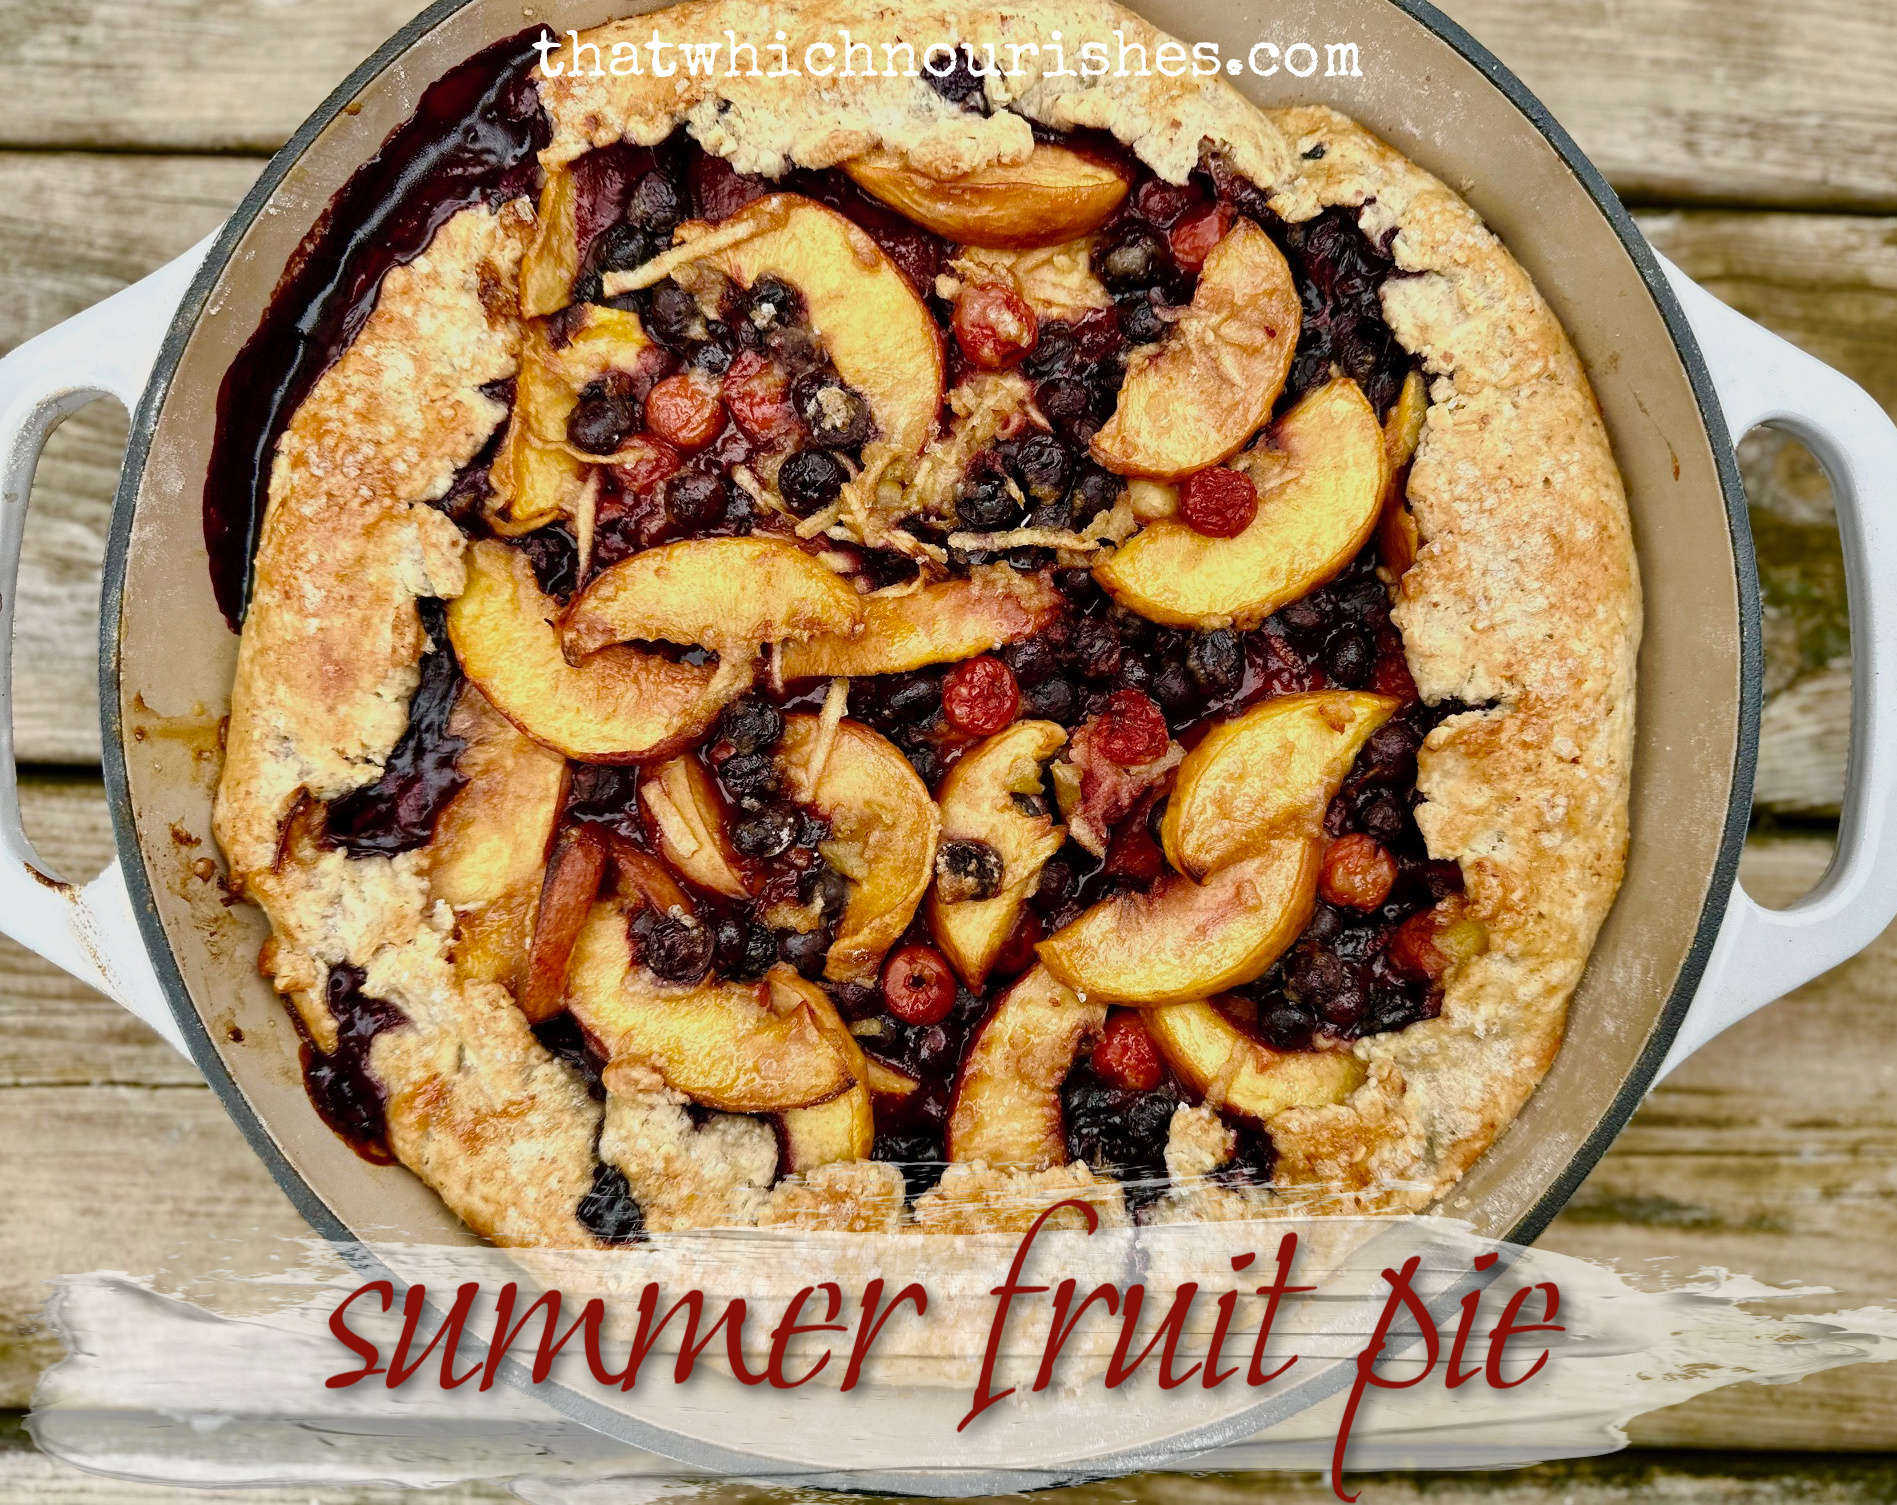
Summer Fruit Pie
Aug 27, 2023
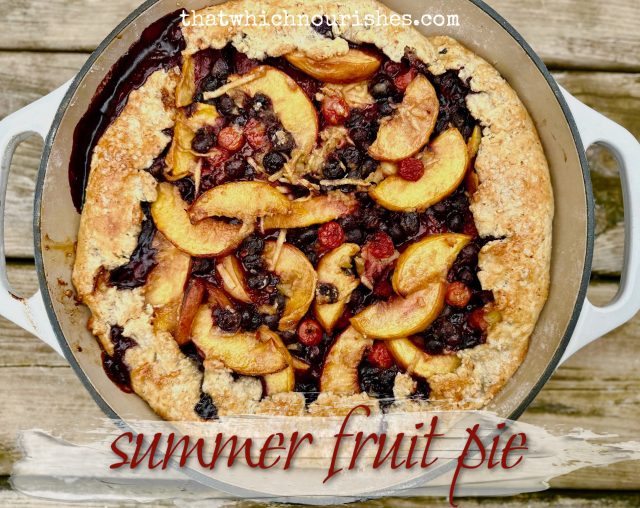
I have a thing for farmer’s markets.
We have road-tripped 48 states as a family and everyone humors Momma when I see a roadside stand with fruits and/or veggies and lets me stop. I don’t know what it is that makes me feel a strange compulsion to buy produce from strangers off of a table, but it calls to me. So, during the summer and fall while produce is plentiful locally, I am a happy, happy camper.
This week’s selection was a fruit and veggie paradise. I came home with first-of-the-season apples, peaches, tart cherries, blueberries, black raspberries, zucchini and a beautiful cabbage. It was like getting edible gold in exchange for my twenty dollar bill.
It screamed PIE!!!!! Well, minus the zucchini and cabbage. And since I LOVE pie and I LOVE my cast iron cookware (I cook almost everything in cast iron these days), it makes perfect sense to me to make pie in my cast iron skillet.
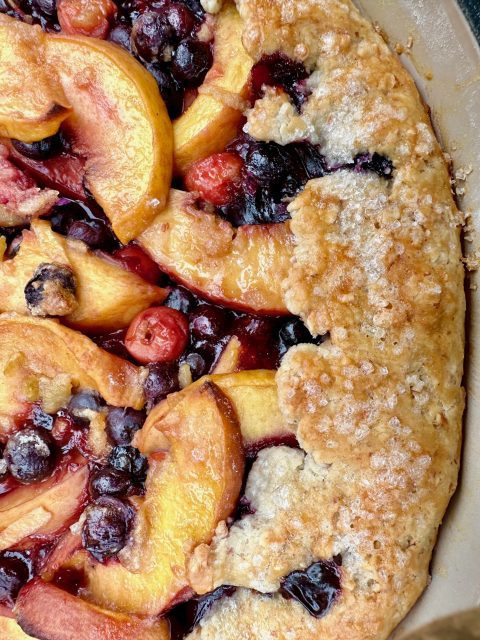
Plus, I’ll let you in on a little secret. If you’re the least bit concerned about making pie crust, this takes the need to make a perfect, beautiful crust and tosses it out the window. It’s called a rustic pie crust. It’s like saying it has character. Those words allow for imperfections which takes the intimidation factor out, and that makes me a happy pie maker. And eater. Let’s not forget the eating part…
Okay, so let’s start with the crust. I use a recipe from howcrazycooks.com. If you need any further explanation or pictures of the crust making process, visit her site. She covers all the details. But, here’s how I made it in a nutshell.
In my food processor, I chopped up 1/2 c. of sliced almonds.
Then I added in 1 1/2 c. flour,
2 T. sugar,
and 1/4 tsp. salt and mixed it all up in there.
Then, I quickly cubed 1/2 c. of very cold butter (quickly and without handling it to keep it cold) and added it in and pulsed it until the butter was incorporated and the mixture was the size of small peas. Next comes 1/2 tsp. almond extract.
Now here’s where you have to work fast. Make some ice water and when it’s good and cold, add 3 Tablespoons of the cold water to the dough. Let your food processor run and add in more water just 1 T. at a time up to 6 T. JUST until the dough forms a ball, then quickly stop it. A couple tricks to pie crust is that you want very cold ingredients and you don’t want to overwork the dough. When it has formed a ball, take it out and on a clean surface, form a disc. Wrap the disc of dough in plastic wrap and put it in the fridge for at least 30 minutes, but even a couple days is fine.
When you’re ready to make the pie, grease a 10-inch cast iron skillet with butter and then roll the dough out on a floured surface to a 1/4 inch thick circle several inches larger than your skillet. I made a happy mistake here and used my 12-inch skillet. I realized my mistake too late and could only remedy the problem by adding more fruit, and it turned out fine except that there wasn’t quite enough crust to hold all the filling and it seeped out over the edges of my crust. Bigger pie, but messier presentation. I might make the same mistake next time…
Carefully transfer the crust to the skillet and let the rough edges hang over while you prepare the fruit.
For a 10-inch skillet you’ll use 4-5 cups of fruit. a 12-inch skillet is going to need more like 6 cups. The fruit choices are totally up to you. I so badly wanted a cherry pie, but my husband is not so much a fan.
So, I mixed pitted, tart cherries, sliced peaches, and blueberries with
1 T. fresh lemon juice,
1/2 c. white sugar,
1/2 c. brown sugar,
1/2 tsp. cinnamon,
1/8 tsp. salt,
and 3 heaping Tablespoons of flour.
I also shredded up a tart apple (grated in the small holes of my cheese grater) because I learned that the natural pectin of the apple helps thicken the fruit mixture. Good tip right there.
Add the filling to the crust and then gently just fold the edges of the crust onto the edges of the filling. No need to be perfect here. Just let it be rustic and full of character.
Mix and egg white with 1 tsp. water and brush the crust with the mixture and then sprinkle with up to 2 T. raw sugar.
Bake the whole beautiful thing in a preheated 375 degree oven for 45-55 minutes removing when the crust is beautifully golden and the filing is bubbling. I gave mine the full 55 to ensure that the crust was fully baked under all of the fruit juice.
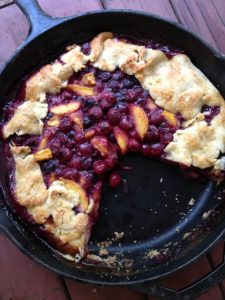
Now, resist. Resist cutting into that pie for at least an hour. As it cools it thickens and allows it to retain its shape without spilling all of the juices when you cut into it. Let it sit there in all of its rustic glory and look amazing.
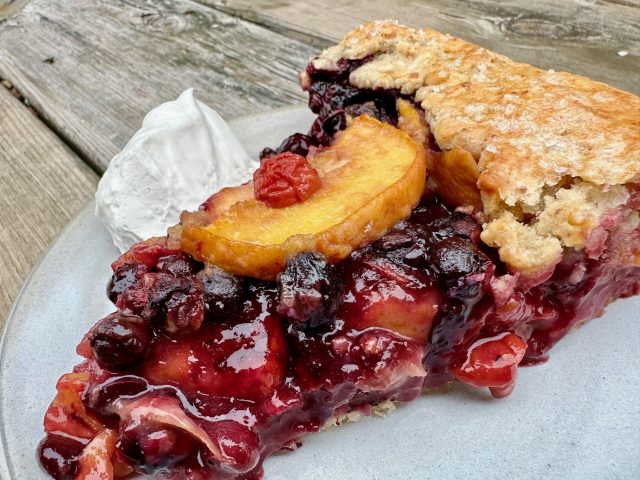
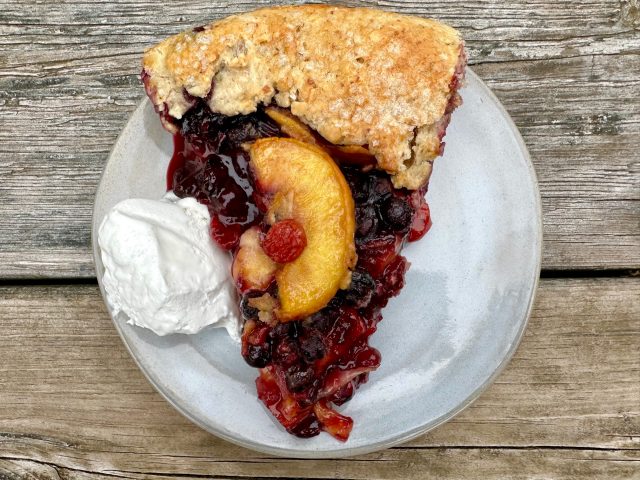
Then, later, when everyone thinks they can’t stare at its beauty one minute longer, serve it with amazing vanilla ice cream. Its so good, friends. Just so summery good. Worth every bit of effort, I promise. I plan to make it at least once a week because these pictures make me drool…
- Crust:
- ½ c. sliced almonds
- 1½ c. flour
- 2 T. sugar
- ¼ tsp. salt
- ½ c. cold butter
- ½ tsp. almond extract
- 3-6 T. ice water
- Filling: 4-5 c. fresh fruit (around 6 cups if you make it stretch to a 12-inch skillet)
- Options include peaches, tart cherries, raspberries, blueberries, blackberries
- 1 apple (grated finely)
- 1 T. fresh lemon juice
- ½ c. white sugar
- ½ c. brown sugar
- 3 heaping T. flour
- ½ tsp. cinnamon
- ⅛ tsp. salt
- 1 egg white
- 1 tsp. water
- Up to 2 T. raw sugar
- Extra butter for greasing the skillet
- Use a food processor to chop the almonds. Add in flour, sugar, and salt and pulse to combine.
- Cube the cold butter and add it in. Pulse until incorporated and the mixture has butter chunks the size of small peas.
- Quickly pulse in the almond extract.
- Add 3 T. of ice water to the dough. Add water 1 T. at a time up to 6 T. and pulse JUST until the dough forms a ball and then immediately stop.
- Remove the ball of dough and form it into a disc Wrap it in plastic and put it in the fridge for at least 30 minutes and up to 2 days.
- Grease a 10 or 12 inch cast iron skillet with butter and then roll the dough out on a floured surface to a ¼" thick circle several inches larger than your skillet.
- For a 10 inch skillet, use 4-5 cups of fruit. For a 12 inch skillet, use 6 cups.
- I used pitted tart cherries, sliced peaches, and blueberries. To the fruit, add lemon juice, brown and white sugar, cinnamon, salt and flour.
- Grate a tart apple and add it to the fruit mixture.
- Add the filling to the crust and gently fold the crust edges up over the edges of the filling.
- Mix the egg white with water and brush the crust with the mixture and then sprinkle with raw sugar.
- Bake in a preheated 375 degree oven for 45-55 minutes. Remove when the crust is beautifully golden and the filling is golden.
- Give the hot pie at least an hour to cool before cutting into it.
Leave a Reply
Hungry?
Browse hundreds of our delicious recipes...there's something here for everyone!
As Seen In
Mac & Cheese
The
Once upon a time, there was a girl who just wanted creamy, cheesy mac and cheese. Not full of spices or fancy things, just plain ol’ gooey mac and cheese. As such, The Mac & Cheese was born. Alison's recipe has become our claim to fame—standing strong as the Most Pinned Mac & Cheese Recipe on Pinterest.
THE
MOST PINNED MAC & CHEESE RECIPE ON PINTEREST
CHECK IT OUT
Love the grated apple trick! You’re amazing!
Why, thank you, dear friend! I happen to think YOU are! :o)
[…] of course you’ll need some pie. Summer Fruit Pie is the best of summer bounty in one pan. Is it more beautiful or […]
[…] Summer Fruit Pie is an impressive beauty full of goodness. The freezer outsmarts the need for summer […]