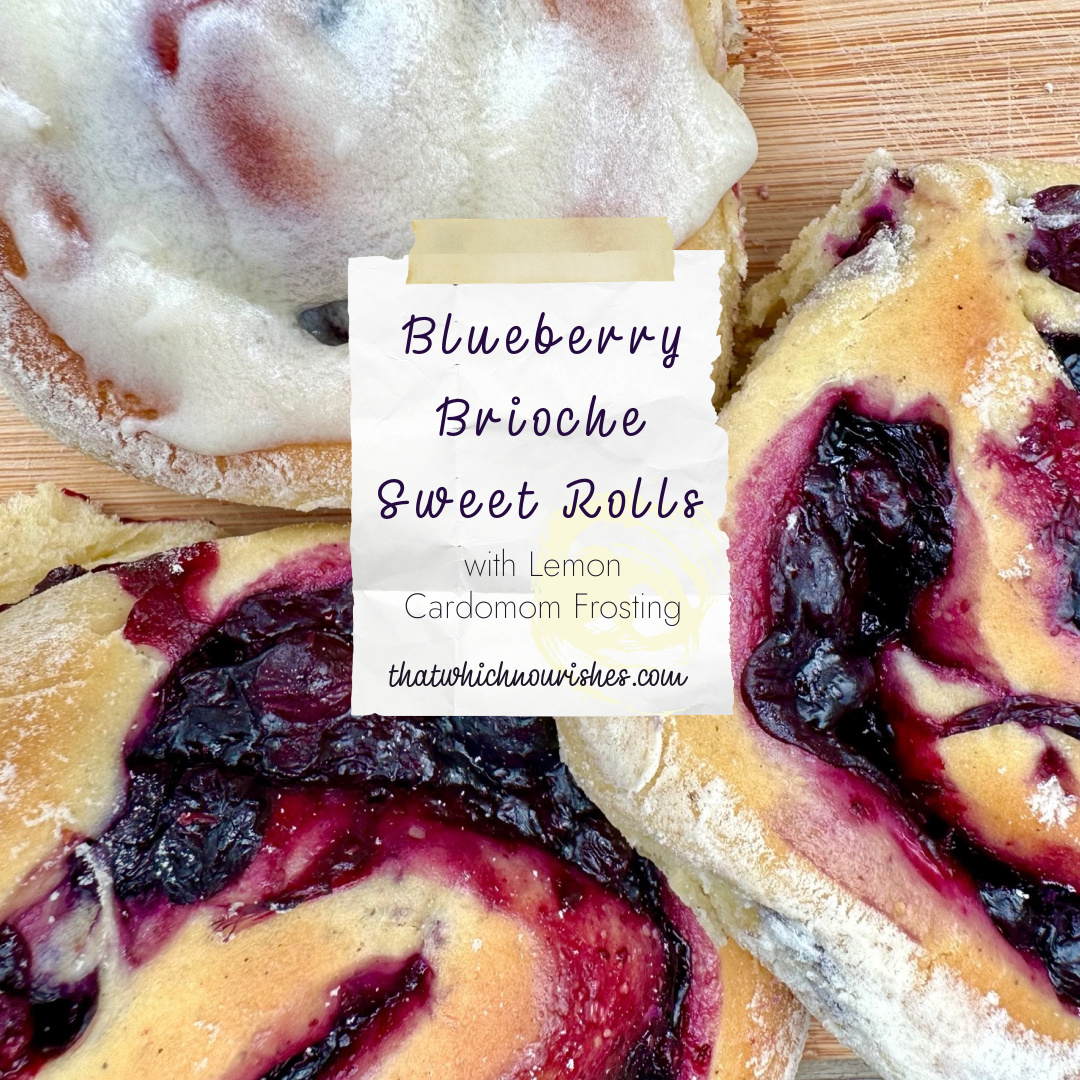
Blueberry Brioche Sweet Rolls with Lemon Cardamom Frosting
Sep 10, 2023
If a picture paints a thousand words…
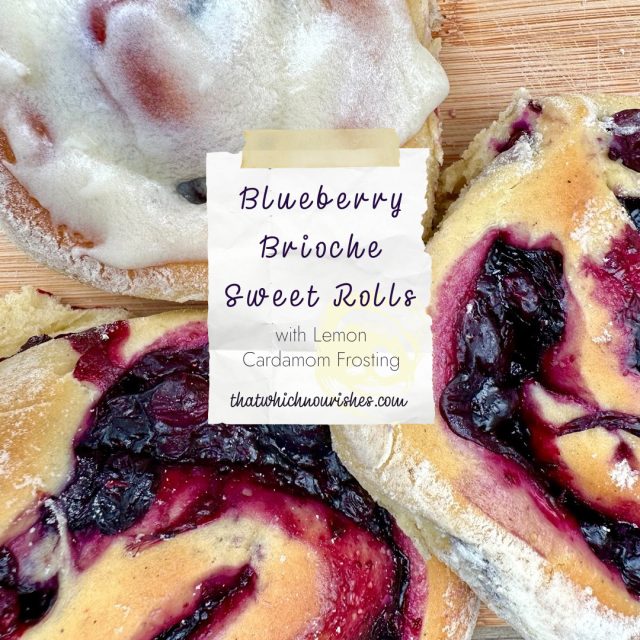
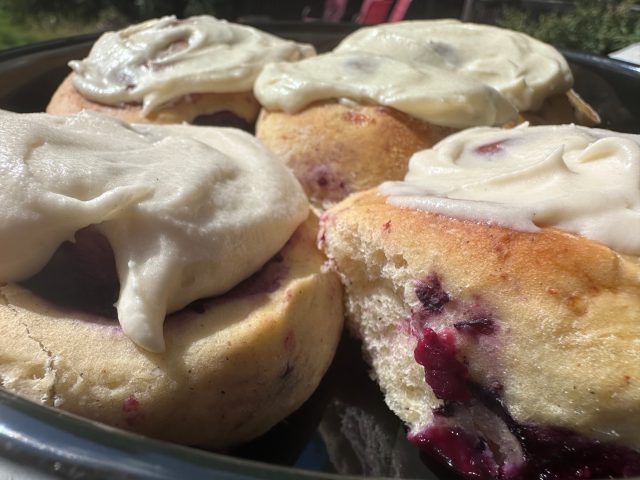
The most tender, blueberry-studded sweet roll encircles blueberry pie filling and is topped off with a lemon frosting with a hint of cardamom. If a cinnamon roll had lofty goals of aspiring to grander things, it would surely dream of having brioche softness, fresh, homemade blueberry filling overflowing from its spirals, and to be topped with the most luscious, buttery frosting with a dash of spice. I love ALL things blueberry and these are topping the charts at our house! We pick blueberries all summer and pop them in the freezer to make Best Blueberry Muffins and Blueberry Buckle any time of year.
But these are special. Way more special. I will be serving them at Red Hen someday so I hope you come see me and try a bite if you haven’t made them yourself by then!
It’s easy — don’t be intimidated by using yeast. I’ll talk you all the way through it. And if sourdough is your thing, do that! Addie has been making and selling these lovelies using her sourdough starter with HUGE success.
- Notes: I have only used fresh blueberries for this recipe and would highly recommend you use the same for the ones that go into the sweet roll dough as thawed berries will stain your dough very blue. But if all you have is frozen, you can just omit the ones in the dough and use the frozen to make the filling for plenty of blueberry flavor!
- The reason the recipe takes awhile is only because of the rise time of the dough so plan ahead.
- Also, have plain dental floss on hand — no mint flavor, for goodness’ sake. You’ll know why later.
- I have The G&M Kitchen to thank for this recipe from which I deviated only a bit. Hats off for a fantastic recipe!
To begin, combine 2/3 c. of barely warm milk with 1 T. yeast and let it sit to get foamy. If it doesn’t foam, your yeast isn’t fresh and won’t help your rolls rise!
In your stand mixer bowl, combine the following ingredients:
- 2 1/4 c. all-purpose flour (have 1/2 c. additional nearby for later if needed)
- 1/4 c. sugar
- 1 1/2 tsp. cardamom (or 1/2 tsp. nutmeg if you’re not a cardamom fan)
- 1/2 tsp. salt
Mix well with your paddle and then add in:
- 1 egg
- 4 T. very soft butter
- 1/2 tsp. vanilla
Mix a bit, change to your dough hook, and then add in your milk and foamy yeast combination .
Let your hook mix this for a few minutes and observe. We’re looking for the dough to come together JUST enough to pull away from the bowl. We still want it a tiny bit sticky to the touch as it’s a soft dough, but if it’s still kind of puddling at the base of the hook, add in more flour 2 T. or so at a time until it does pull away from the bowl!
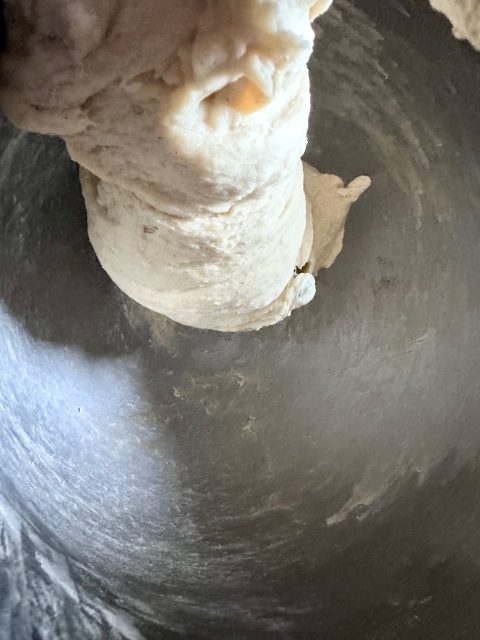
Once it does, let it mix a few minutes and then check it by pulling like this to see if you can almost see through it — I think of stained glass. This lets you know the gluten has developed enough.
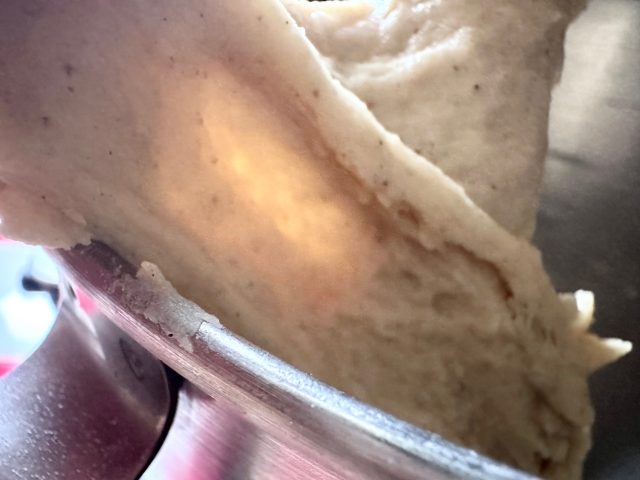
As soon as you’ve gotten to that point, the hard part is done! Now, add in one cup of fresh, dry blueberries and as gently as humanly possible, wrap those little guys without squishing them into the dough to distribute as easily as possible. Next step, scoop the dough out, and put it into a buttered or oiled bowl and give it a turn to coat it and let it sit in the warmest part of your kitchen covered with a dishtowel until it doubles in size.
While your dough is rising, make some blueberry filling. Of course, you can buy it or use jam like the original recipe, but I mix 1 T. cornstarch and 1 T. cold water together and add it to a saucepan with a cup of blueberries, 1/4 c. water, 1/4 sugar, and heat and stir, stir, stir until thickened! Let it cool.
Now, for the fun part! On a clean, smooth surface, spread a bit of flour and have more nearby. I use a silicone mat with great results. Gently place your risen dough onto the floured surface and use a rolling pin to gently roll it into a rectangle about 1/4″ thick. Cover the dough with your blueberry filling leaving about 1/2-1″ around all the edges to avoid spillage when you roll. Roll it up starting with the long edge so you have a long log-shape. Arm yourself with a 12-15″ piece of plain dental floss and slide the middle of it under the roll. You are looking to make about 12, 1/2″ rolls. So at 1/2″ cross your floss over the top of the log and switch the ends to your other hands to use the floss to cut all the way through the log like a string-scissor! This method is so much better than even a sharp knife as you maintain the circle shape of the rolls. Continue to cut each roll and place them with several inches of space between to allow for the next rise on a parchment paper-lined, or greased baking sheet.
Gently cover your baking sheet with a towel and place it in the warmest place in your kitchen to rise for about a half hour. You’ll know when they’re ready because they will look just like a beautiful cinnamon roll shape. Preheat your oven to 350 and when it’s ready, bake these lovelies for 22-25 minutes or until golden brown. Watch them closely!
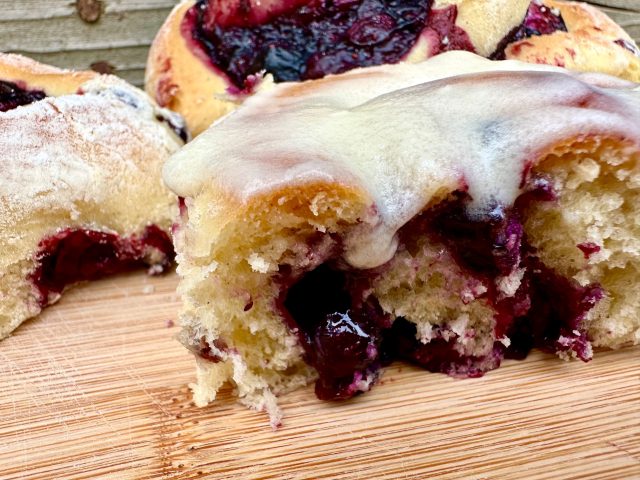
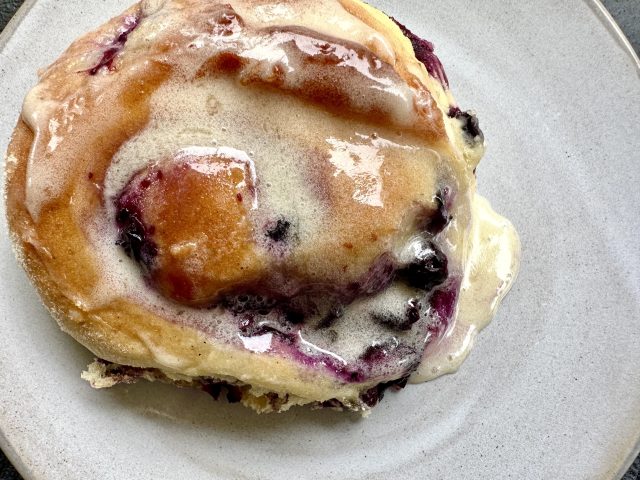
While they are baking, make up your frosting. You can make this more of a glaze-texture if you’d like by adding more milk or keep it nice and thick and creamy if that’s your preference. On the second day, if you have any of these babies left, the 10 second microwave reheat will turn any of the frosting into a glaze as in this picture.
To make the frosting, use a small bowl and sift in 2 cups powdered sugar. Use a mixer to mix in 2 T. softened butter, 1/2 tsp. vanilla, 1/2 tsp. lemon extract, and milk 1 T. at a time until desired consistency. Add in 1/8 tsp. of cardamom (or nutmeg) if desired.
When the rolls are completely cooled, frost them and take a HUGE bite of one of your brilliant and most decadent creations! And then come back here and tell me how much you love them and me and share it to all of your social media for the love of TWN! :o)
- Rolls:
- 2¼ c. all-purpose flour (have ½ c. additional nearby for later if needed)
- ¼ c. sugar
- 1½ tsp. cardamom (or ½ tsp. nutmeg if you're not a cardamom fan)
- ½ tsp. salt
- 1 egg
- 4 T. very soft butter
- ½ tsp. vanilla
- 1 c. blueberries
- Filling:
- 1 c. blueberries
- 1 T. cornstarch mixed with 1 T. water
- ¼ c. water
- ¼ c. sugar
- Frosting:
- 2 c. powdered sugar
- 2 T. butter
- ½ tsp. vanilla
- ½ tsp. lemon extract
- ⅛ tsp. cardamom
- To begin, combine ⅔ c. of barely warm milk with 1 T. yeast and let it sit to get foamy. If it doesn't foam, your yeast isn't fresh and won't help your rolls rise!
- In your stand mixer bowl, combine the flour, sugar, cardamom, and salt. Mix well with the paddle.
- Add in the egg, butter, and vanilla.
- Mix a bit, change to your dough hook, and then add in your milk and foamy yeast combination.
- Let your hook mix this for a few minutes and observe. We're looking for the dough to come together JUST enough to pull away from the bowl. We still want it a tiny bit sticky to the touch as it's a soft dough, but if it's still kind of puddling at the base of the hook, add in more flour 2 T. or so at a time until it does pull away from the bowl!
- Once it does, let it mix a few minutes and then check it by pulling like this to see if you can almost see through it -- I think of stained glass. This lets you know the gluten has developed enough.
- Add in one cup of fresh, dry blueberries and as gently as humanly possible, wrap those little guys without squishing them into the dough to distribute as easily as possible.
- Scoop the dough out, and put it into a buttered or oiled bowl and give it a turn to coat it and let it sit in the warmest part of your kitchen covered with a dishtowel until it doubles in size.
- For the filling: mix 1 T. cornstarch and 1 T. cold water together and add it to a saucepan with a cup of blueberries, ¼ c. water, ¼ sugar, and heat and stir, stir, stir until thickened! Let it cool.
- On a clean, smooth surface, spread a bit of flour and have more nearby. I use a silicone mat with great results. Gently place your risen dough onto the floured surface and use a rolling pin to gently roll it into a rectangle about ¼" thick. Cover the dough with your blueberry filling leaving about ½-1" around all the edges to avoid spillage when you roll. Roll it up starting with the long edge so you have a long log-shape. Arm yourself with a 12-15" piece of plain dental floss and slide the middle of it under the roll. You are looking to make about 12, ½" rolls. So at ½" cross your floss over the top of the log and switch the ends to your other hands to use the floss to cut all the way through the log like a string-scissor! This method is so much better than even a sharp knife as you maintain the circle shape of the rolls. Continue to cut each roll and place them with several inches of space between to allow for the next rise on a parchment paper-lined, or greased baking sheet.
- Gently cover your baking sheet with a towel and place it in the warmest place in your kitchen to rise for about a half hour. You'll know when they're ready because they will look just like a beautiful cinnamon roll shape.
- Preheat your oven to 350 and when it's ready, bake these lovelies for 22-25 minutes or until golden brown. Watch them closely!
- To make the frosting, use a small bowl and sift in the powdered sugar.
- Add in the softened butter, vanilla, lemon extract, milk, and cardamom and mix until smooth and creamy.
- Spread over completely cooled rolls.
Hungry?
Browse hundreds of our delicious recipes...there's something here for everyone!
As Seen In
Mac & Cheese
The
Once upon a time, there was a girl who just wanted creamy, cheesy mac and cheese. Not full of spices or fancy things, just plain ol’ gooey mac and cheese. As such, The Mac & Cheese was born. Alison's recipe has become our claim to fame—standing strong as the Most Pinned Mac & Cheese Recipe on Pinterest.
THE
MOST PINNED MAC & CHEESE RECIPE ON PINTEREST
CHECK IT OUT
Leave a Comment